DIY Driveway Preparation: What You Need to Know


Understanding the Basics of Driveway Preparation
Preparing your driveway might seem like a daunting task, but with the right guidance and tools, it can be a satisfying DIY project. Whether you're looking to pave a new driveway or resurface an existing one, understanding the basics of preparation is crucial. This ensures durability and enhances curb appeal.
Choosing the Right Materials
The first step in driveway preparation is selecting the appropriate materials. Common choices include asphalt, concrete, gravel, and pavers. Each material has its pros and cons. For instance, asphalt is cost-effective and easy to install, while concrete offers durability and a sleek look. Gravel is great for rural areas and allows for excellent drainage, whereas pavers provide a decorative finish.
Essential Tools and Equipment
Equipping yourself with the right tools will make the driveway preparation process smoother. Essential tools include a shovel, wheelbarrow, rake, and tamper. For more extensive projects, you might need a plate compactor and a power saw. Make sure to wear protective gear such as gloves and safety goggles throughout the process.

Steps to Prepare Your Driveway
Once you've gathered your materials and tools, it's time to start preparing your driveway. Follow these steps to ensure a professional finish:
- Clear the Area: Remove any debris, vegetation, or old pavement from the area.
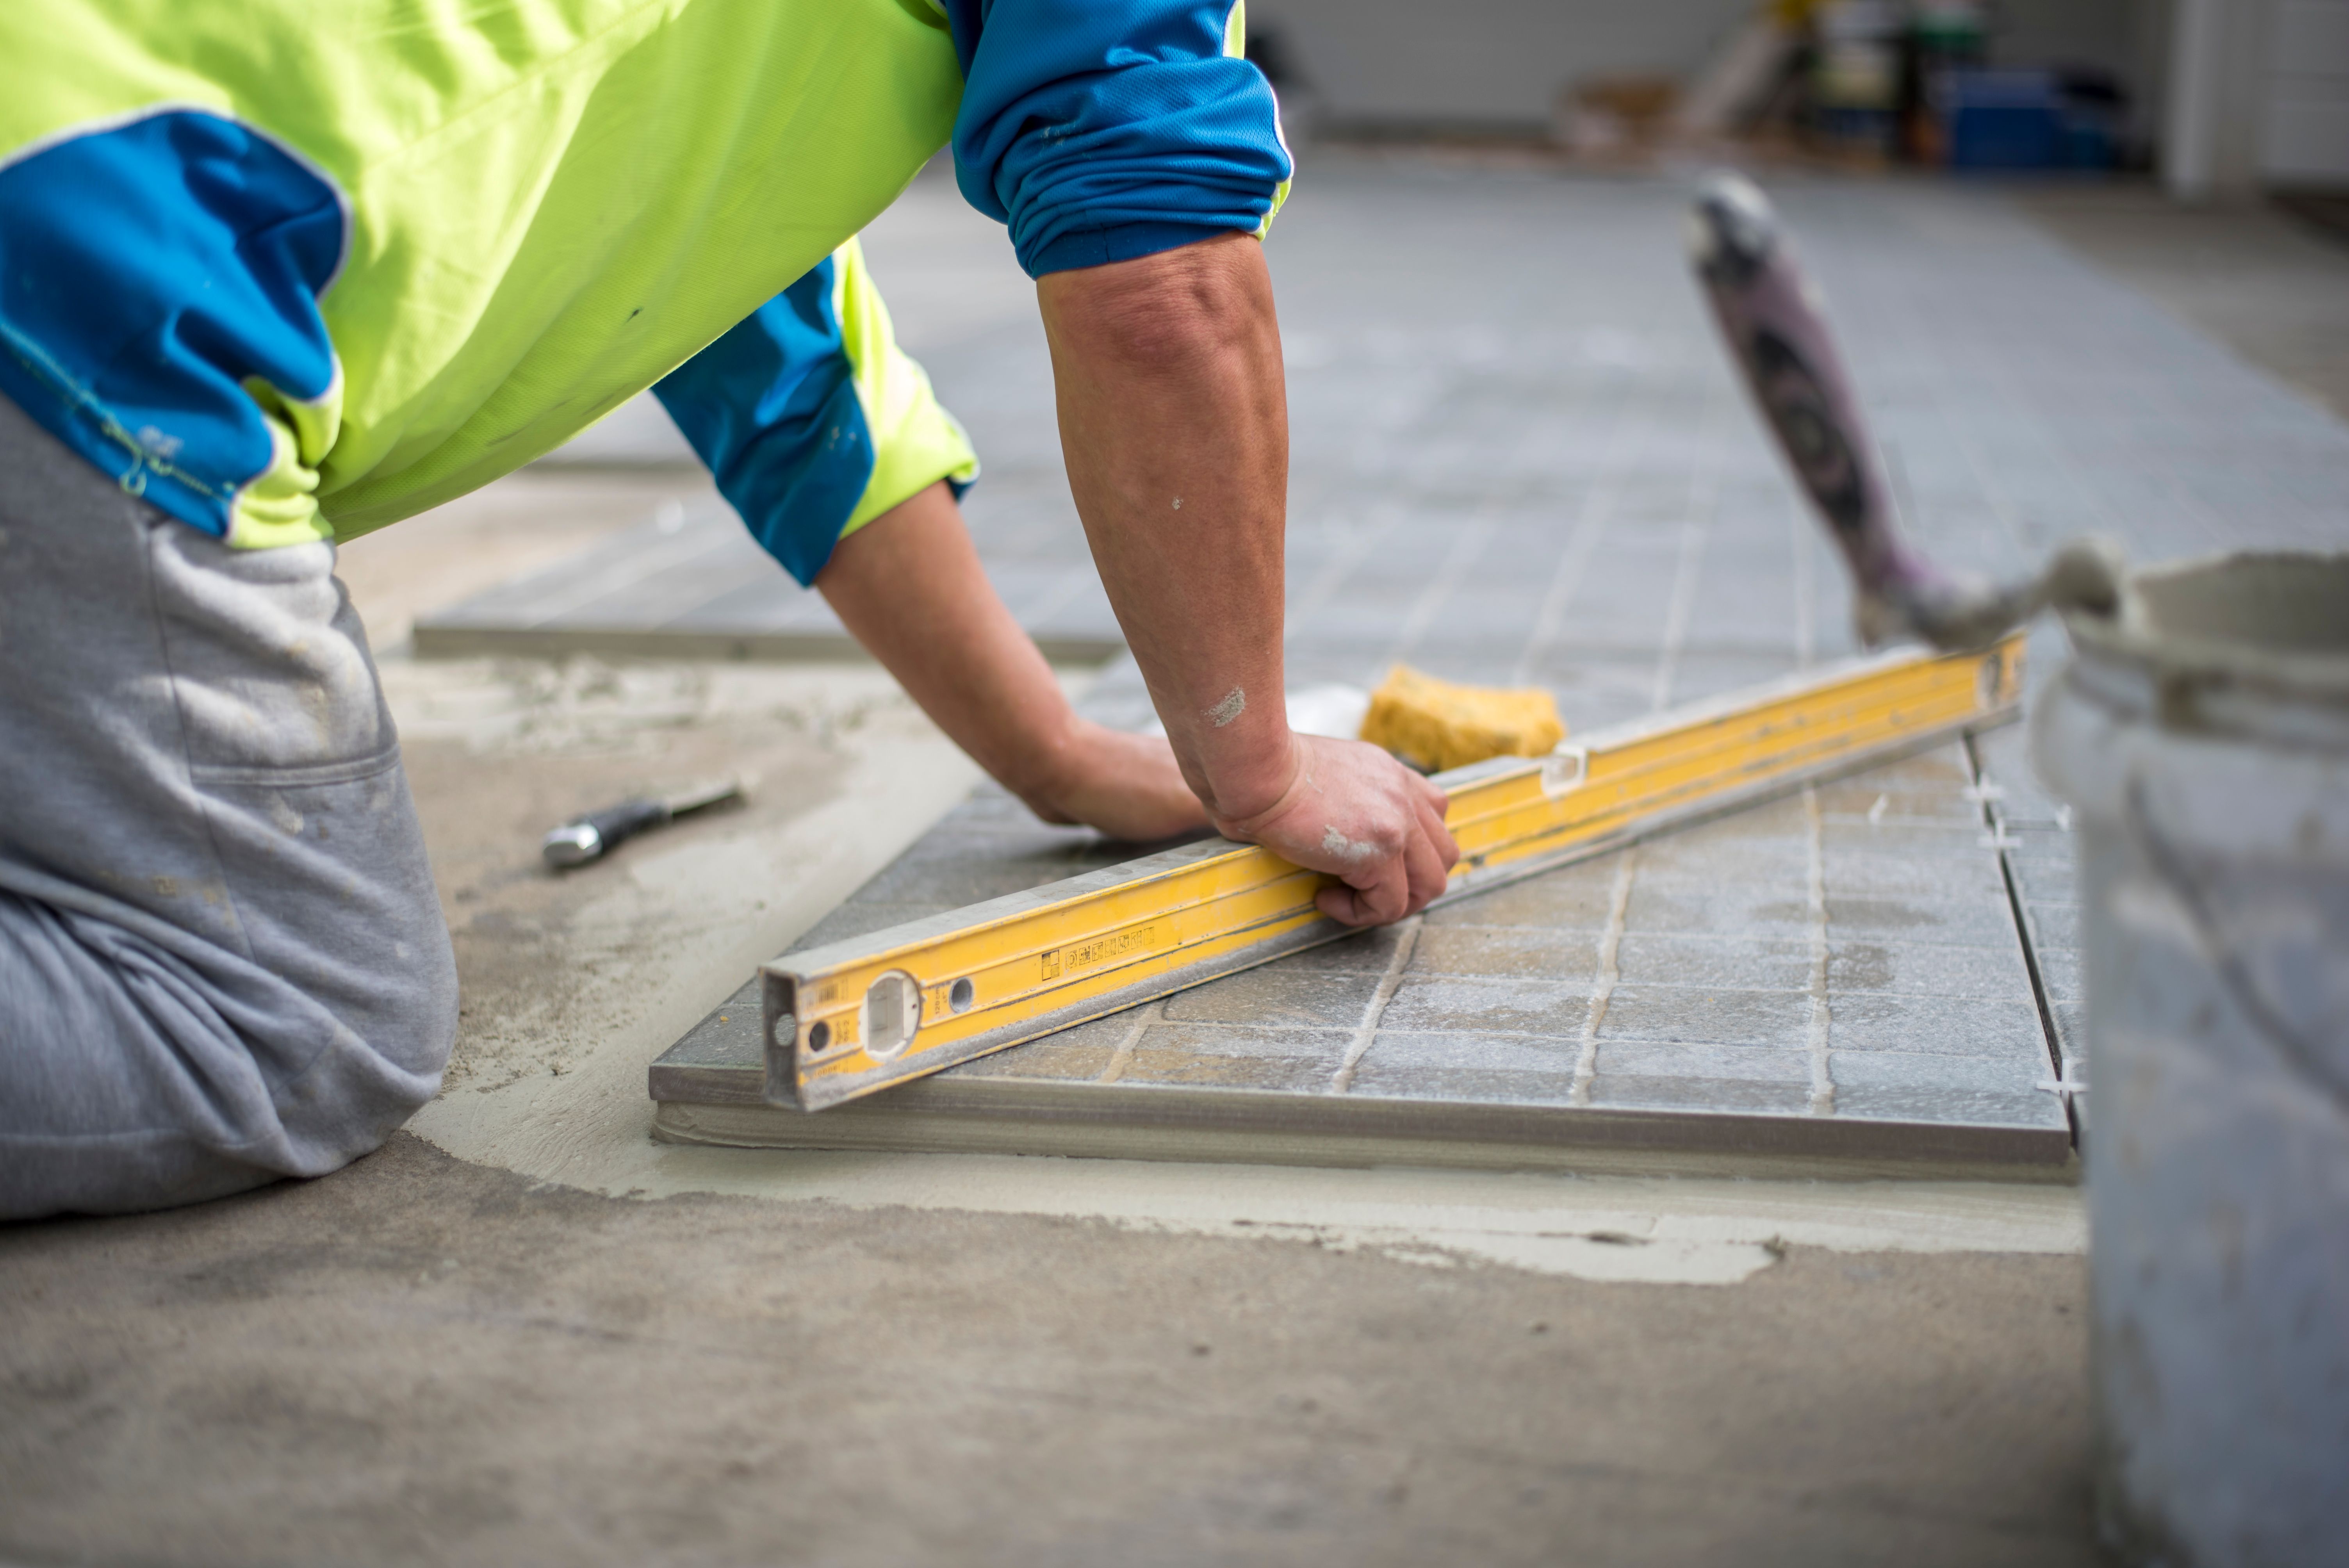
- Level the Ground: Use a rake and shovel to create an even surface. This step is crucial for preventing future cracks.
- Compact the Soil: Use a tamper or plate compactor to ensure the ground is stable.
- Lay a Base Layer: For gravel driveways, spread a layer of crushed stone for better drainage.
Addressing Drainage Concerns
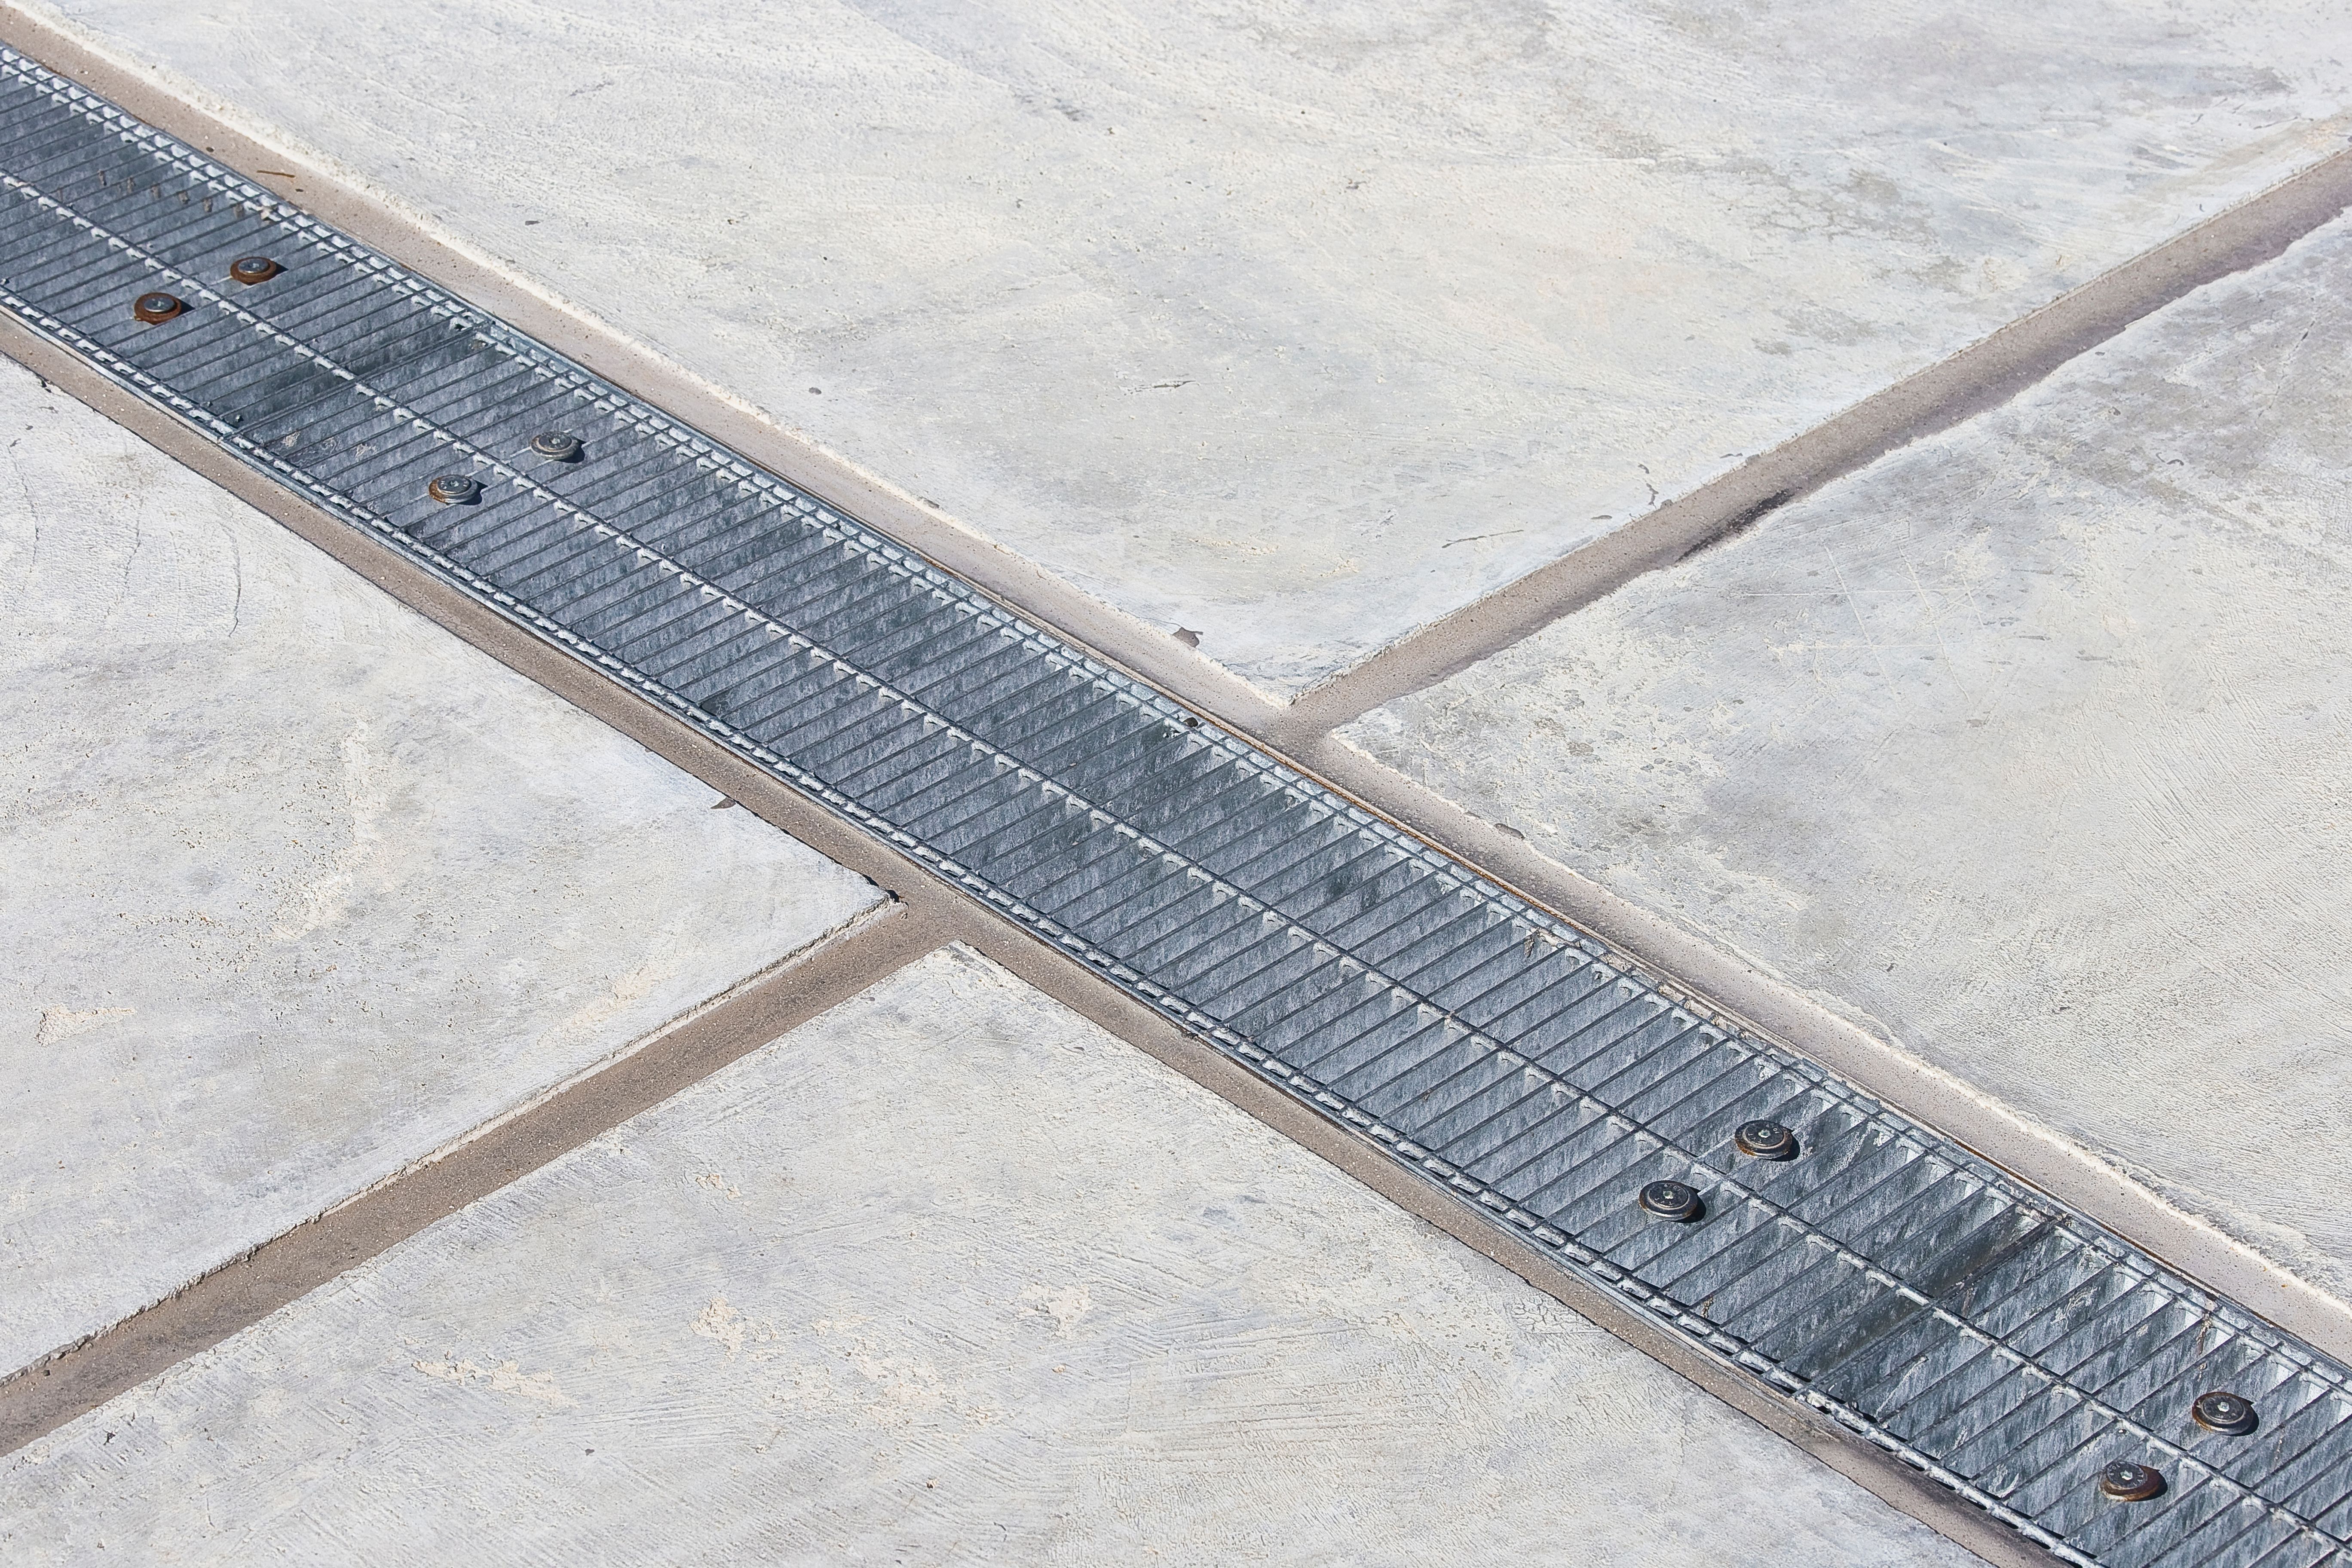
Proper drainage is critical to maintain the longevity of your driveway. Without adequate drainage, water can pool on the surface, leading to erosion and damage. Consider installing drainage pipes or creating a slight slope during the leveling process to direct water away from structures.
Final Tips for a Successful Project
Before you begin paving or resurfacing, allow the base layer to settle for at least 24-48 hours. This step helps prevent future sinking or shifting. Additionally, consider weather conditions; choose a period without rain to ensure smooth application and drying.
If you're laying asphalt or concrete, follow the manufacturer's instructions carefully for mixing and pouring. It's essential to work swiftly as these materials can set quickly. For paver driveways, lay each stone with precision to avoid gaps.
Tackling a DIY driveway project can be challenging but rewarding. With careful planning and execution, you can create a beautiful and functional driveway that enhances your home's appearance and value.